Wednesday, February 28, 2024

Stay at home round robin #6

The Round #6 directions said to use a number or a letter. 
I went with 9 patch blocks and used some of the same fabrics I used in round #5.


I like the flowers on the corners, so...
The 9 patches will be on the top and bottom with my favorite 
dragonfly & hummingbird batik between the pieced blocks.


I made four 9 patch blocks but I like the layout above with one 9 patch in the middle.

Next week I will finish quilting and binding my SAHRR mini and post it here.

Love the process and all the great makers who are contributing each week.

Happy Sewing!


Wednesday, February 21, 2024

SAHRR Round #5

The requirement for round # 5 is 'four' - four colors, four blocks, four fabrics, etc.

I decided after round #2 to make my quilt a mini so it will fit on a 24 in quilt hanger. 

Round # 3 is on the right side and round #4 is on the left side.

I made 4 flower blocks with 4 fabrics for round #5.

The dark fabric between the blocks is my favorite batik of this line.

I may put the 4 flowers on the corners or space them out on the bottom or top row.

Think I'm going to wait and see what round #6 requires.

Enjoying the SAHRR.

Thanks, ladies!


Wednesday, February 14, 2024

SAHRR Round #4

This round's block prompt is square in a square or an on point setting.


I tried a few fabric combinations before deciding to use 
the same two fabrics used in round #3 and the center block.


I wanted the dark fabric on the outside.
I used a 2 inch center with triangles cut from 2 inch squares.
I did have to trim to get the correct size.

Linking up.
Only 2 rounds to go.

Happy Sewing!


Thursday, February 8, 2024

Tea or Coffee? Mini finished, maybe?

These are the paper pieced blocks I made for my Tea or Coffee? mini quilt.


I saw a cute idea for using a handkerchief under a teapot block.
I tried out these crocheted doilies that my mom made years ago.


I soaked several doilies in Oxiclean over night to get out the stains.


I had an idea for how to sew half of the doily on the teapot and half on the coffee pot.


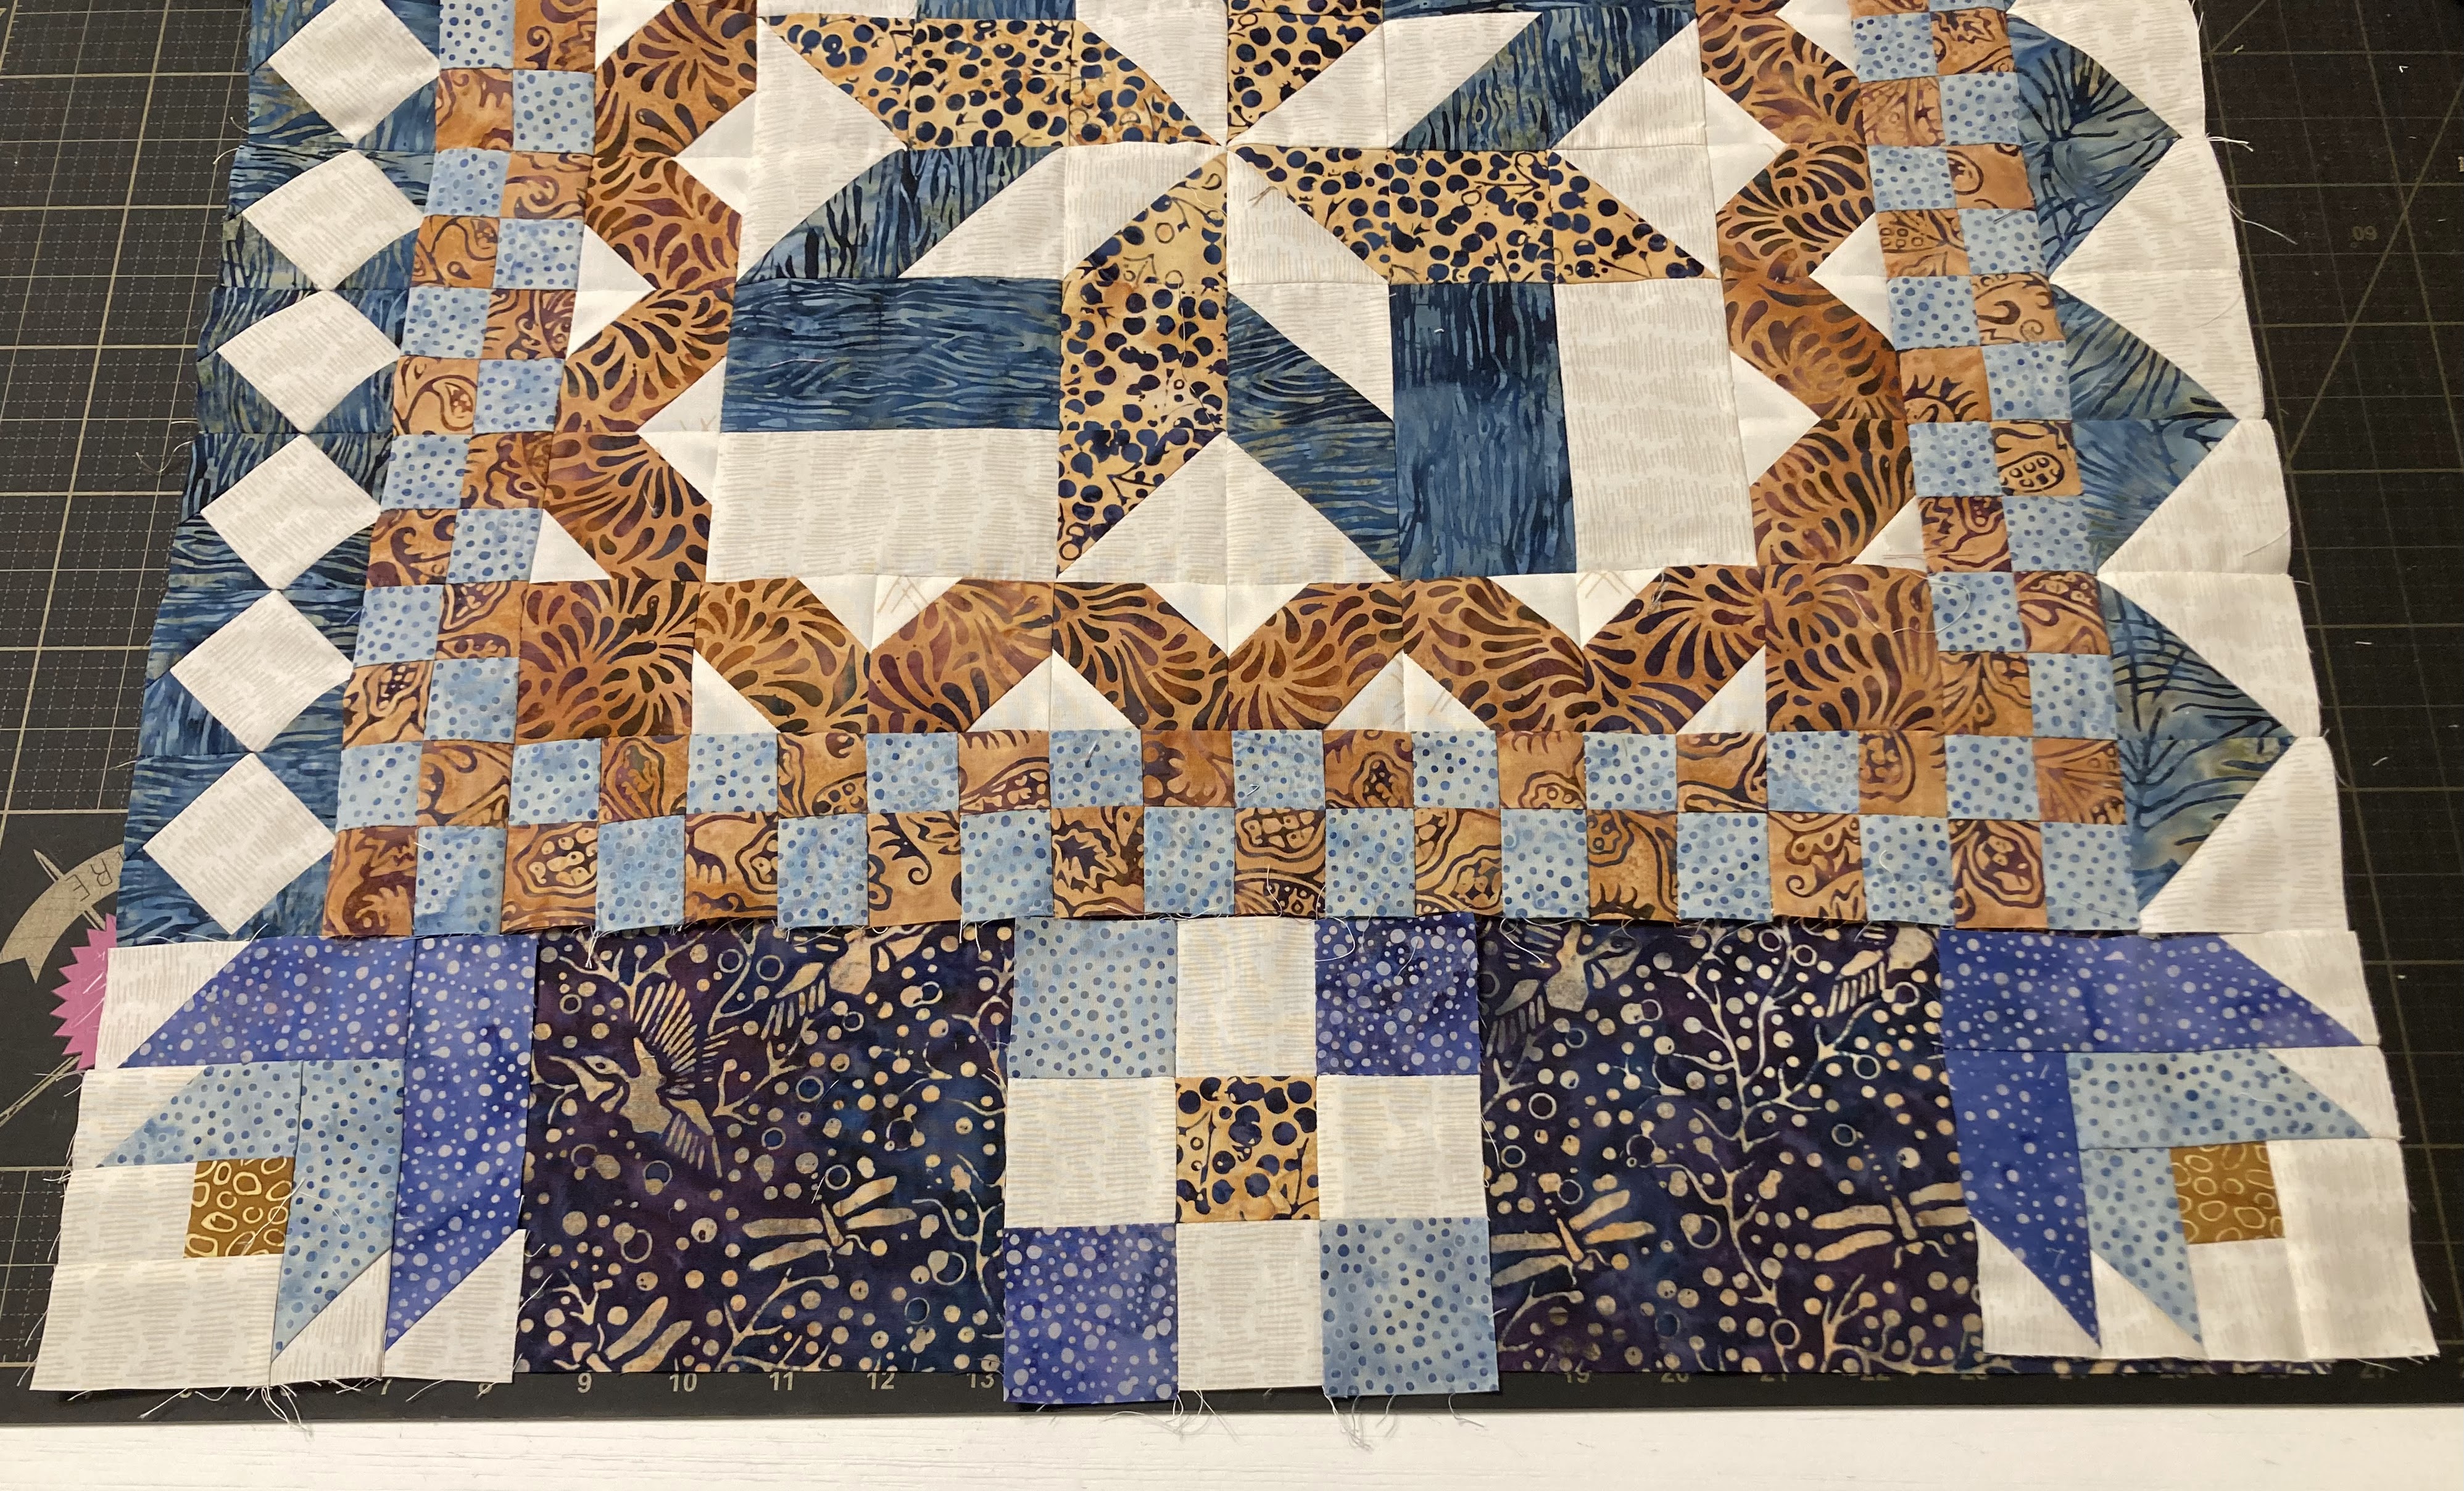
I improvised the layout adding more sashing until the blocks were the same width.
I used lots of different white-on-white fabrics from my scraps as the sashing.


The photo below shows how I started sewing the doily.
I cut a strip 2 inches wide and placed it across the middle of the doily.
I sewed a quarter inch on either side of the penciled line, then cut the doily in half.

The photo above shows how I zigzagged the cut edge to stabilize it. 


Above shows the planning/tryout stage of figuring out the layout.


I pin baste all my quilts.
I quilted in the ditch across the middle and down the columns.

Each block is quilted in the ditch around the original paper pieced block.


I'm thinking of adding beads or buttons on some of the blocks.
Also, thinking about adding embroidery, too.


The quilting is finished.
The label is written and a hanging sleeve is in place.
Binding is done.


I like how it turned out.
But is it finished?


Happy Sewing!


Tuesday, February 6, 2024

SAHRR Round #3

After the second round I measured this and decided to change my plan.


I want this to be a mini quilt. If I make 2" rounds for rounds 3-6, it will be bigger than I planned.

Now the plan is to make the last four rounds one side each.
I may use my favorite fabric in the corners.

Round #3 prompt was 'triangle'.
I made easy half square triangles but set them into mock flying geese.

This is so much fun.
Can't wait for the next round.

Happy Sewing!


Saturday, February 3, 2024

Coffee of Tea?

Several years ago I printed all the patterns for a tea themed quilt from the
My Carolina Home blog. I later bought a book of paper pieced patterns for
cups, bowls, teapot, coffee pot, and other beverage related blocks.


I collected all my favorite blue fabrics.
I just finished these blocks.
I looked online for setting ideas.
I really liked one with doilies under some blocks.


I have my mom's crocheted doilies but they were very stained.
Oxiclean was suggested as safe way to lighten them up.
Photo #1 shows the stained doilies.
Photo #2 shows one of the doilies after soaking over night.


In progress teapot above.


Sugar bowl and creamer 


Coffee pot

I am working on sashing and borders.
Look for more photos in a later post.

Happy Sewing!