Friday, October 7, 2022

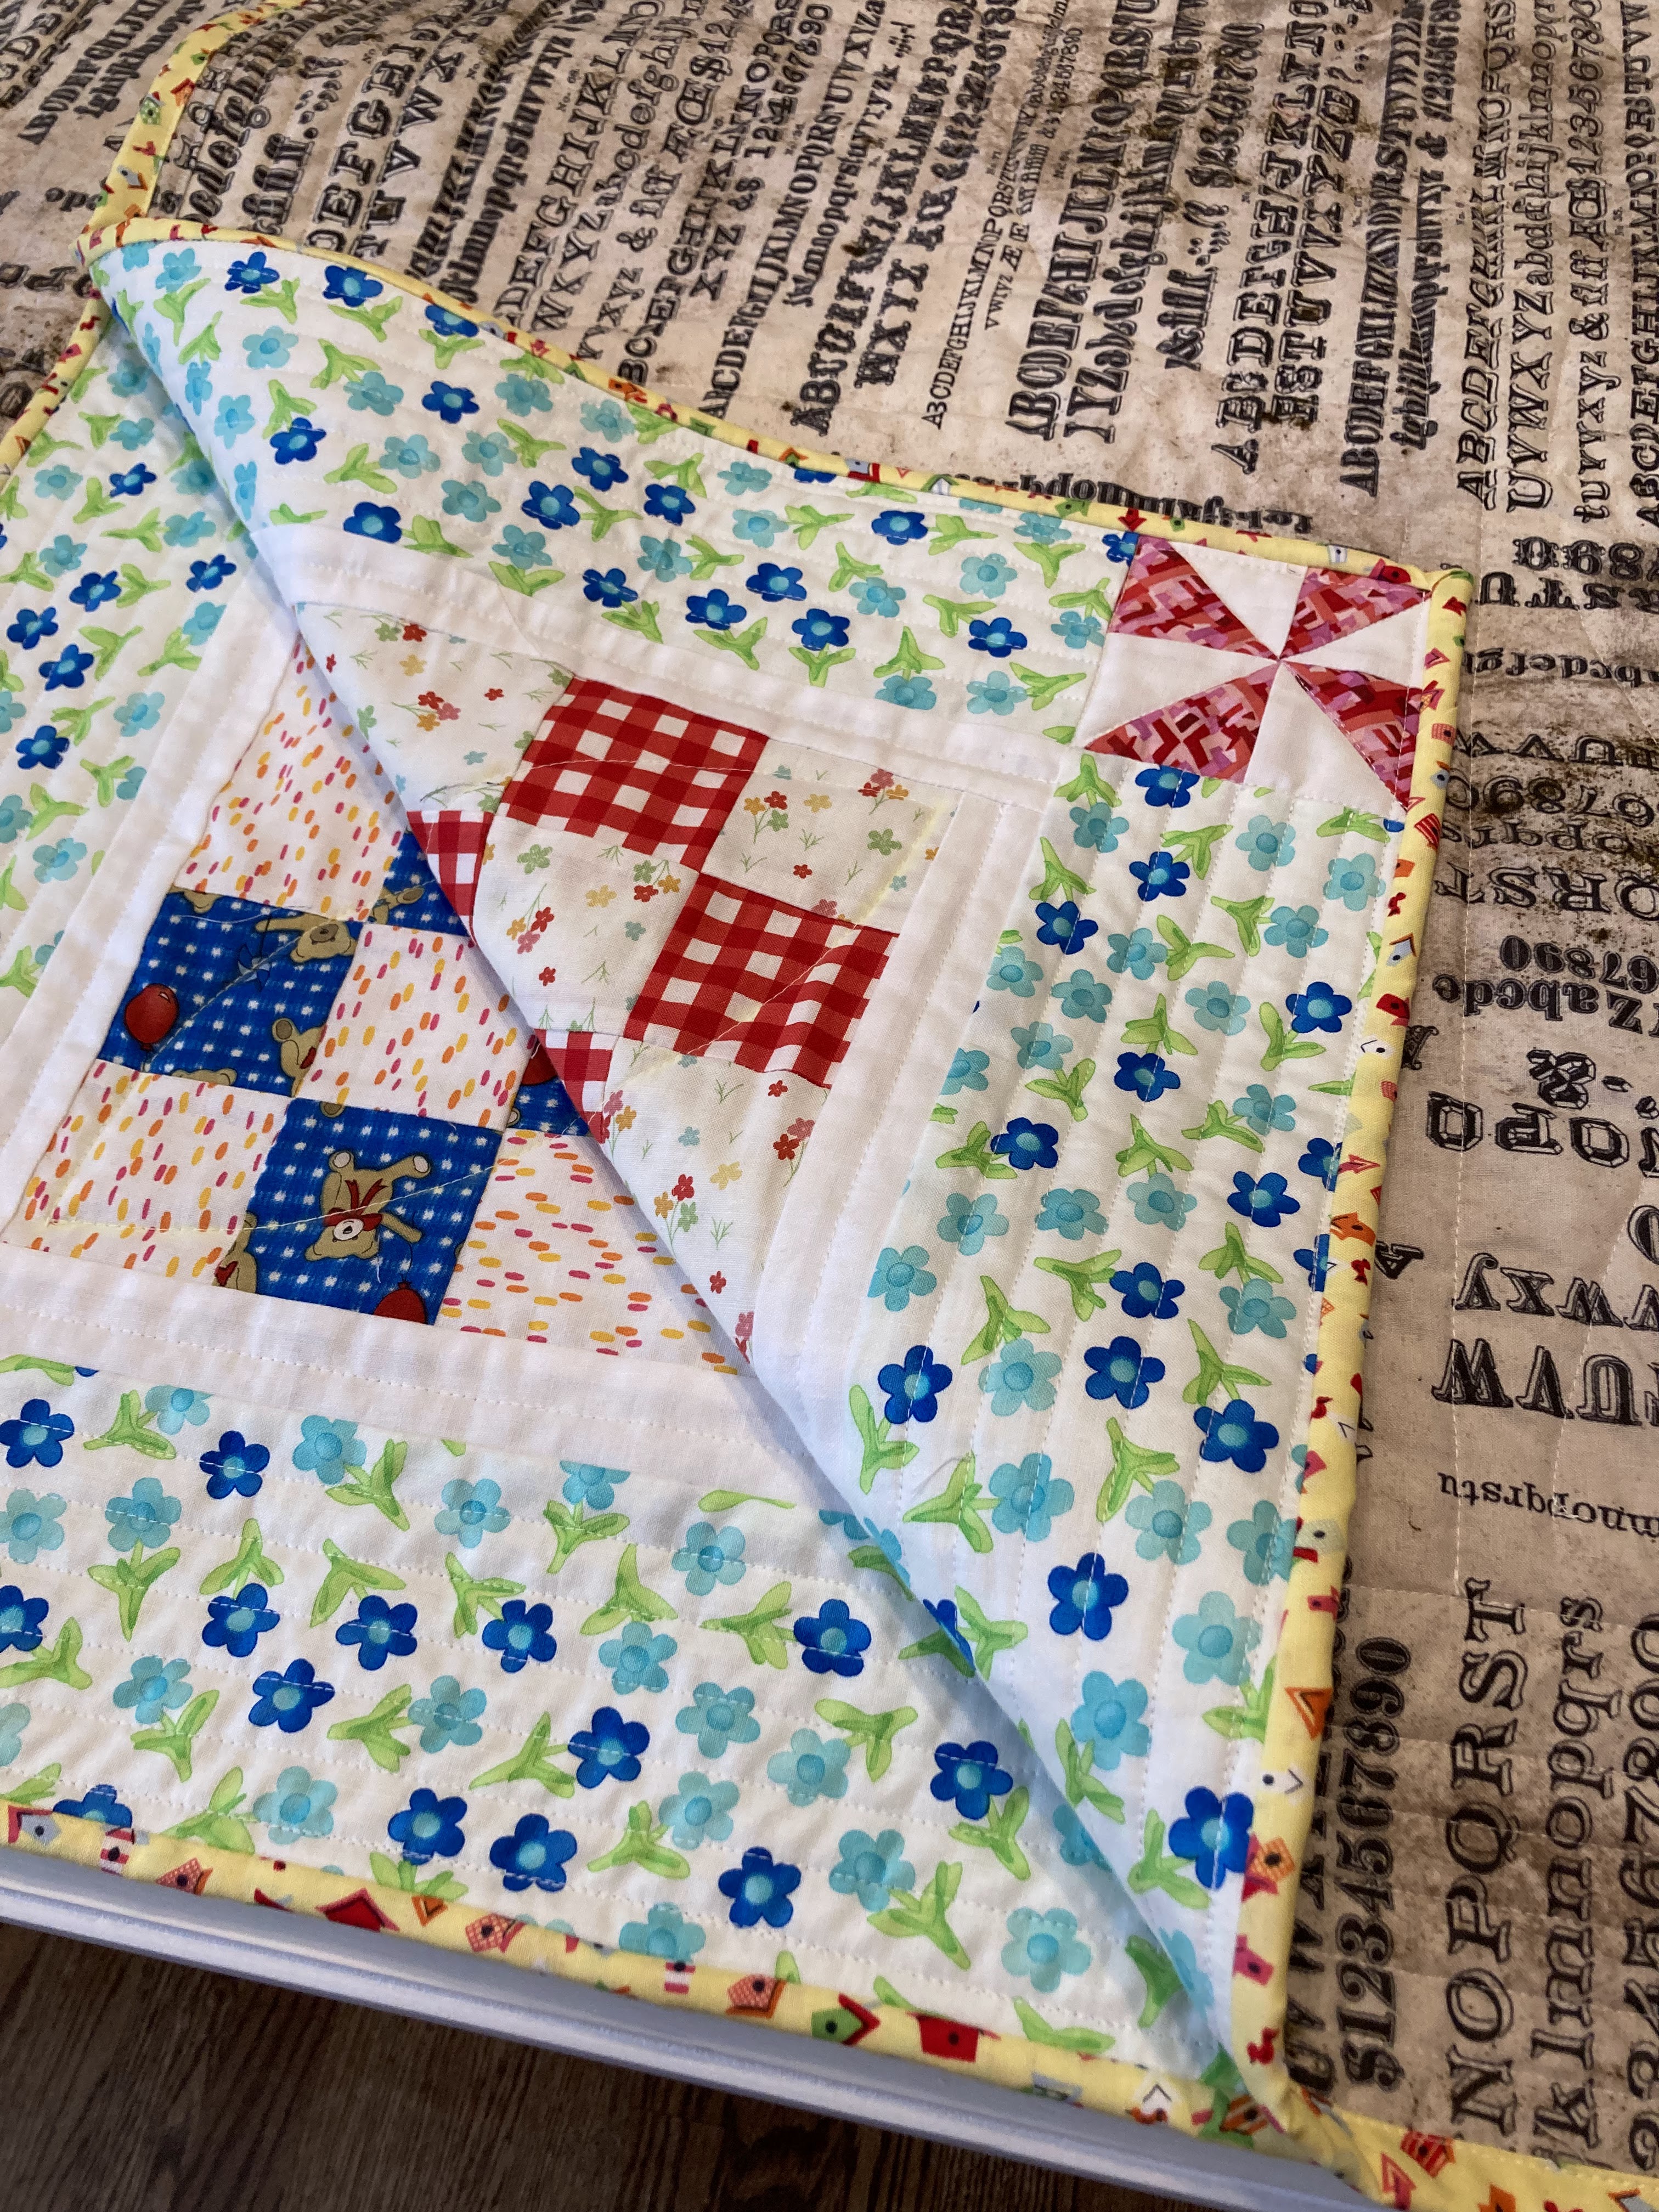
My version of a project bag

I took a free pattern from the internet and made some changes to make the bag fit my projects.
Documenting my changes for future reference.
The project bag takes 3 fat quarters, a batting scrap, a 14" or longer zipper, a piece of netting 13" X 18". 


I cut two pieces of fabric 13" X 18", added the same size batting and stitched around the edge 1/4".
Then I quilted it free motion on my sewing machine.


My zippers were shorter than the pattern suggested so I made some changes there.

I cut two 1.5" X 18" pieces from the front and back fabrics, then sewed the zipper between the fabrics. 
The zipper panel was short so I added two filler pieces of the same two fabrics - cut about 3" X 2.5" for each end.


I wanted fabric at the top and bottom so I cut a strip 2.5" X 18" from the binding fabric.

When sewing the filler pieces I stopped 1/2" from one side so I could fold under when I sewed the zipper to the net. If I had a longer zipper I would not have to do this step.


Above the zipper strip is ready to be sewn to the net.

Below, the bottom strip of fabric has been sewn to the bottom of the net piece.
I topstitched to clean finish and trimmed the fabric to the size of the netting.


The zipper was longer than the netting so I trimmed it after topstitching it.


This photo is out of order.
I sewed the zipper to the netting with the back fabric first - about 3/8" seam.


Then I turned and finger pressed the seam. Topstitched the front fabric to close in the raw edges.


Above is out of order. I measured the space needed for the filler fabric.

The original pattern called for a handle. I wasn't sure if I needed a handle 
but I knew I did not want it sewn inside the binding. 

I cut a piece of the binding fabric 4" X 12" and a piece of very stiff interfacing 3/4" X  11".
Topstitched the interfacing between the folded handle fabric.

I folded the raw ends and stitched the handle in place by finding the center of the 18" side and sewing 2" on either side of the center about 3/4" below the edge.


The rest of the assembly was easy. Baste the net front in place, sew the binding on the back, turn and sew on the front. The net was a little longer than the 13" side so I folded a little tuck where the fabric and net joined the bottom. As I stitched the binding down on the front I caught the handles so they stay up.


I do like the handle.
Here is my first project bag filled with a cross stitch pattern and supplies.
The zipper goes from right to left. 
Works for me since I'm left-handed.


In other finishes - a mug rug or small wall hanging started at quilt guild.

Carmen shared how to use tiny scraps by fusing and gluing.

I'm calling this 'Dragonfly Sunset Mist'.

Tulle on top of the scraps and quilted in a zigzag stitch.
Binding is from mom's stash of purchased binding.


One last item-
I sewed flannel on the back of the measuring tape on my name tag for comfort.
I also used washable marker to outline my name to make it more readable.


That's all for now.
Going to NYC to stay with the boys next week.
I may get to Gotham Quilts while I'm there.

Happy sewing!


Sunday, October 2, 2022

Silent Auction Sewing & Learning to Paper Piece

Mississippi Literacy Association asked for some silent auction items to raise funds for literacy grants to teachers. I am making some zip bags with a new pattern that only uses 3 fat quarters.


Sea shells above showing the lining and binding.

Below the first two bags finished.


Below the lining and binding on the tossed cats bag.


The third bag is almost finished - just the binding to do.


The outer and inner fabric has to be quilted together before the pieces are cut.
I love this day/night mirror image of houses but wasn't sure what to do with it.
I think it makes a cute bag.


Sorry for the sideways photos.

I am also making two flannel swaddling blankets and including some flannel bibs.
Surely someone will need baby gifts at the silent auction.


Saturday I zoomed with new quilt guild friends to learn how to paper piece.
I have always avoided paper piecing because I couldn't figure out the written directions.
Doing it with others on zoom with step by step instructions helped a lot.


The two sections we did together are one-fourth of the finished block.


I will finish the block later this week.

Below is a template for circles that I found at an art supply store.
I think I will use this for making appliqué circles on my wool appliqué project.


What have you been doing this week?
Hope you have found time to sew.


Sunday, September 25, 2022

Mixed bag of finishes

This week I finished the birthday boy's play mat.
I thought I would use hook and loop tape to close/fold the mat.
Instead I threaded cotton cord through the loops as I originally planned.
The cord is from a stash of mom's so little boy has a connection to his great-grandmother.
The mat is quilted around the road sections. It does not have binding.


Miss A has a new dress to wear when she vacations at the beach in a week.
The fabric has vintage bathing costumes in the light blue and sailboats in the dark blue.
I added a bit of red and white striped fabric to accent the bodice and pockets.


Brother has a matching short overall.
In the photo I was auditioning red buttons but I decided to use navy on the finished outfit.
I used snap tape on the crotch and cording on the button holes.
The lining and pocket fabric features croquet mallets and is in the same fabric line.
Red and white stripes for the pocket accents like his sister's dress.


Celebrate wall hanging is finished.
I sewed gold pony beads on each flame to add a little sparkle.


Hand quilting in the letters of 'celebrate' and jingle bells on the large cupcakes
finish the wall hanging.

I changed my mind about more hand quilting.


Center of wall hanging with hand quilting and bells.


Finished on my birthday!


Birthday present from our son's family.


What's next?
We will see - maybe small zip bags for silent auction.

Have a good week.


Sunday, September 18, 2022

Celebrations Quilt & Present for Birthday Boy

Celebrate wall hanging/quilt has been machine quilted and bound.
It is in the process of being embellished with big stitch hand quilting and beads.

Sneak peak below after it was trimmed and before binding.


The backing is enough to make me hungry for cupcakes.
The machine quilting was done with black thread on the top and pinkish thread in the bobbin.
Just enough quilting to keep the layers in place.


Also finished this play mat for the birthday boy.
I intended to make a drawstring so the mat could be picked up easily with the toy vehicles inside.
Rethinking that idea. May use hook and loop tabs to fold the sides to the middle instead.


In other non-sewing news - I joined the Memphis Symphony Chorus on Monday.
That fulfills the 'Sing' part of my blog title. I'm looking forward to making music with the group.

I also joined two books clubs at the library. (Read) One by zoom and one in person.

Mr. M and I got Covid boosters this week, too.
Ready to head to NYC and the grands.

More photos next time.


Saturday, September 10, 2022

Delta Fair Show & new project

I tried something new. I entered three quilts into the Delta Fair.
My purpose was to support the quilt guild by participating in an activity that promotes quilting.

I was surprised to get red ribbons for each of my quilts.

Some of the quilts were hung in glass fronted cabinets for display.

This is a mini quilt of the block "Geese round the pond".
I hand quilted it.


Next is a crib size Christmas quilt hung way out of reach with other quilts.
I embellished the quilt with jingle bells and gold beads.


Last is a wall hanging with raw edge appliqué.
It hangs over my piano at home but was in a glass case at the fair.
Reflections from the glass.


My new sewing room has a small white board that I am using to keep on top of deadlines.
My grandkids both have birthdays in September and I planned to make them clothes.
They are going to the beach in October so I have a little time.
I'm making a play mat for Kenton's toy cars and trucks. His birthday is the 25th.


But I got side tracked from my list by the "Celebrate" quilt below.

I saw it in an email and thought it would be great to have for family celebrations.


I am finished with the top and ready to baste, quilt and bind it.
The kit included backing and binding fabric.
I think I'm going to add some beads to the quilting.


Check back next week end for a progress report.


Sunday, September 4, 2022

Primer Quilt is Finished

My Primer Quilt AKA Sally, Dick, & Jane is quilted, bound, washed and dried.
It is minimally quilted-just enough to keep the batting in place.
Photo overload to follow.


The yellow binding was exactly enough.
I sewed it on the front by machine, then ironed it, wrapped it around to the back 
and machine sewed it on the back.


The label is sewn on with the binding.


I'm gifting this to a teacher friend who retired this year.
She was always supportive and listened and gave insightful advice 
while we taught in the same school for about 25 years.
We often worked together in summer school with my Multilingual Language Learners.


Each corner has a different colored pinwheel.


The center blocks were a little smaller than the others so I grouped them
and made the sashing wider to compensate.
These blocks are quilted with a simple outline of the center.


All the other blocks are quilted with an orange peel pattern.
I cut a half circle and chalked it on each side of the block.
Then I stitched continuously in one block at a time.


There were two sizes of blocks on the panel I used.
The smaller blocks are framed this way.


I grouped the blocks by color in columns because that looked best to me.
There are ten plain sixteen patch blocks that were added to make the quilt bigger.


I used up lots of scraps in the sixteen patch blocks.
Some of the scrap fabrics were leftover from small quilts I made for Vicki's daughters.


Showing the corners.


After washing and drying.
I love the crinkly look.


Next up - some birthday sewing for the grandkids birthdays.
Happy sewing!