Friday, December 30, 2016

2016 Finish

The binding is finished. So I'm calling this finished in 2016. 

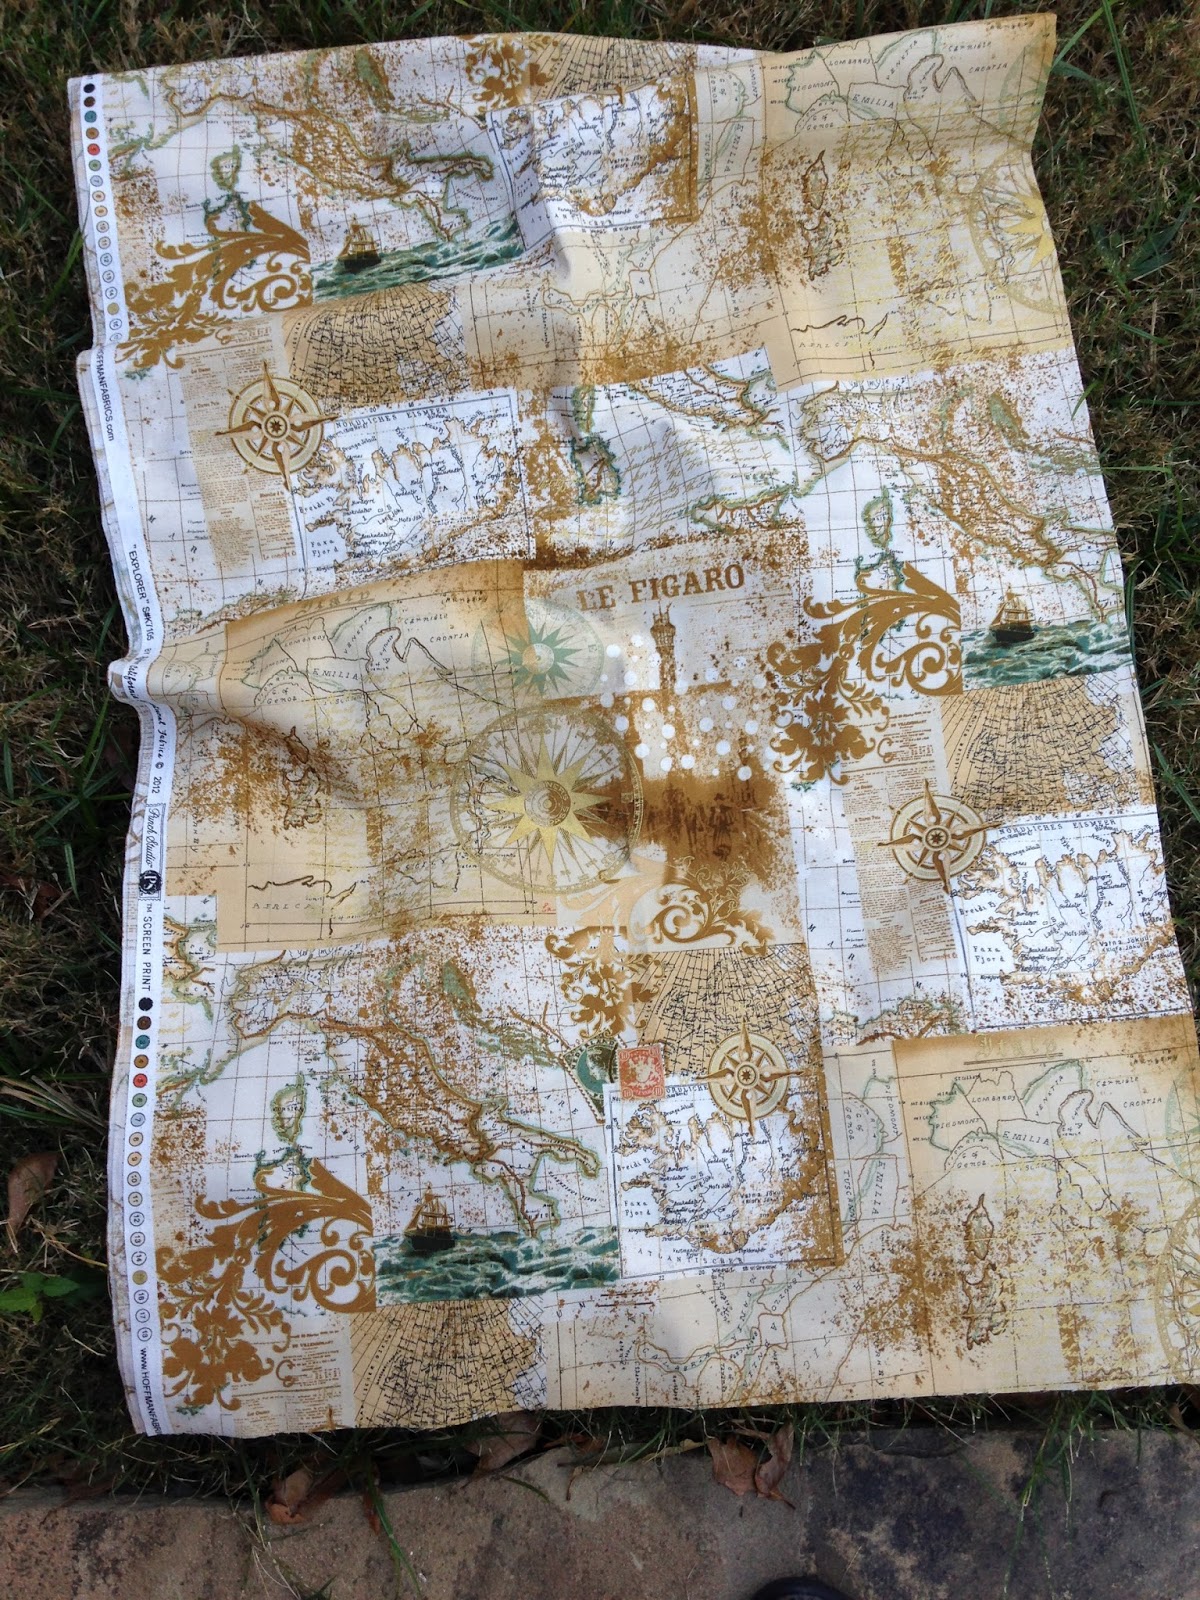
I was going for a sand and sea look with splashes of yellow sunlight and green sea plants.


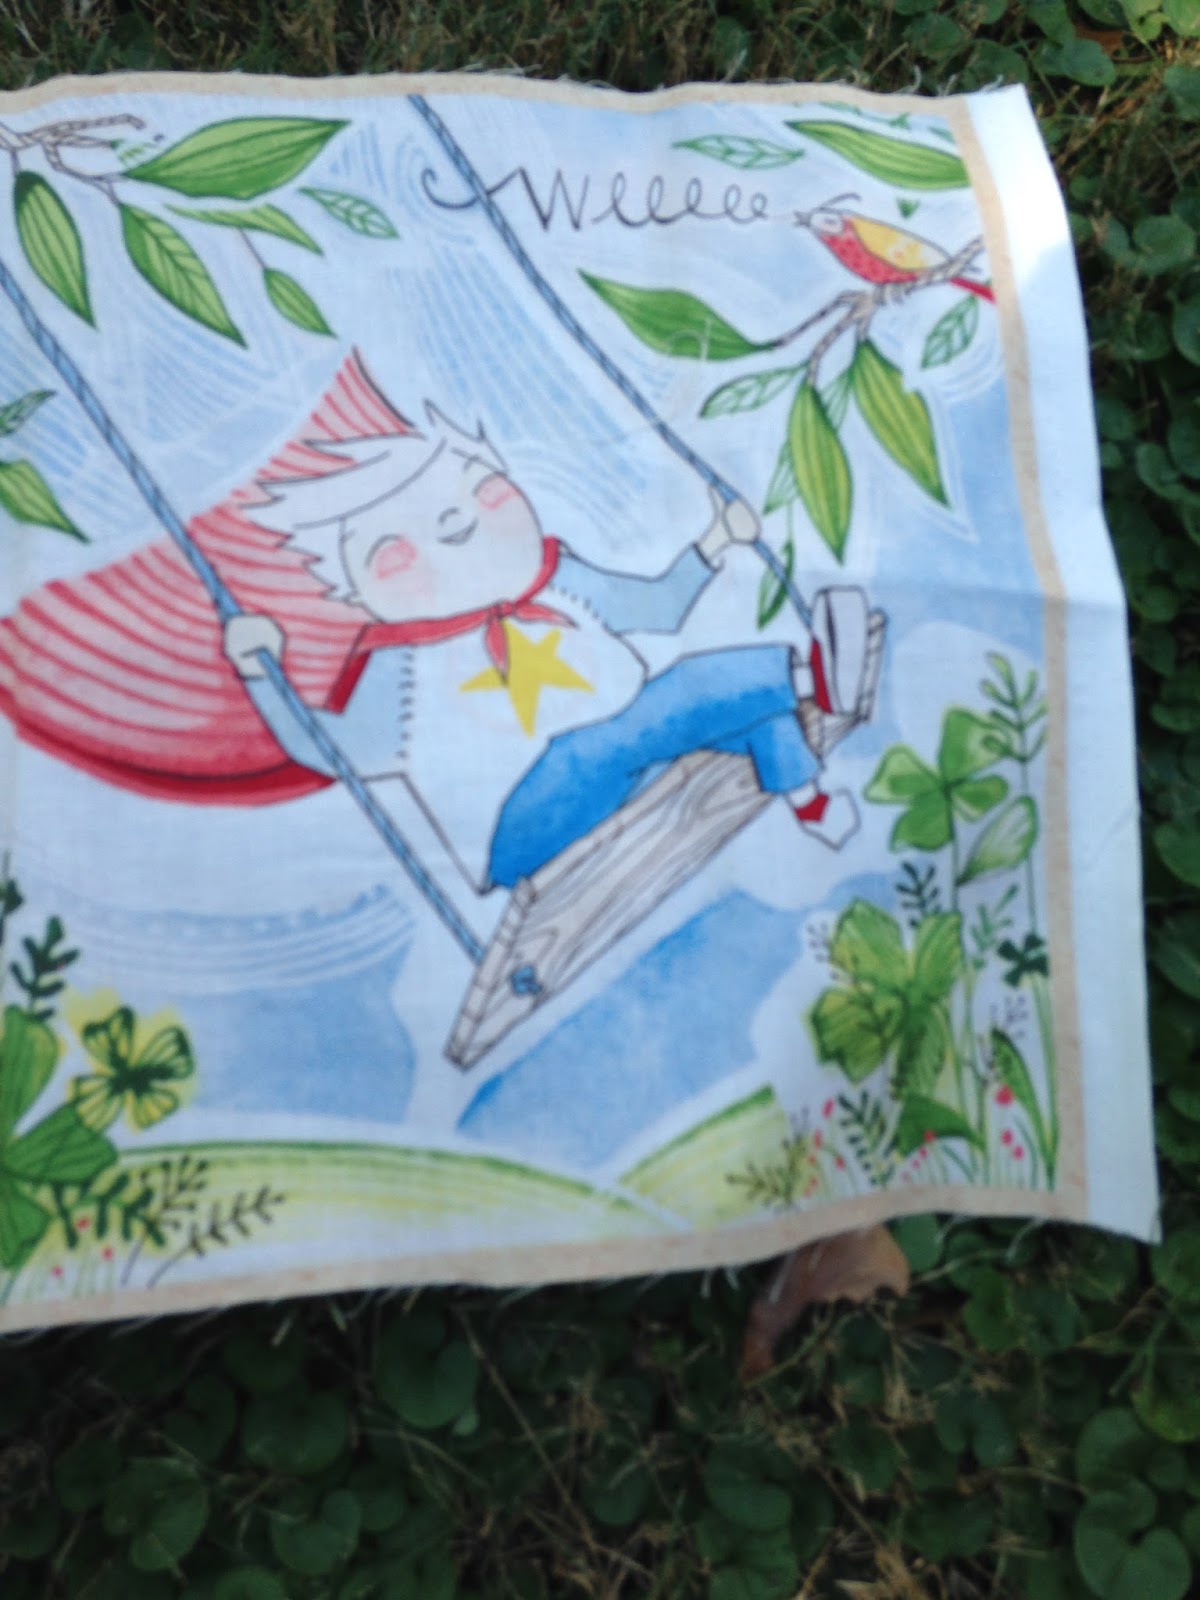
I'm trying hand quilting around the adventurers using pearl cotton. 


Here it is all folded and neat.


The corners look pretty good, if I say so myself.


I used variegated thread on the borders.


Here is the back. The brown is for drift wood, blue for sky and sea, yellow for sunlight, and green for seaweeds and beach plants.
The forecast is for rain tomorrow, so I wanted to get photos today. I will finish hand quilting and get the label on tomorrow. Happy with a quilt finish for 2016.

How was your quilt year?

Saturday, December 24, 2016

Ready for Christmas

The stockings are hung, waiting for tomorrow. Presents are wrapped for the most part.


The ceramic nativity that mom made is accessible for little hands to explore.


All the hand made stocking stuffers are ready.


AND I finally had time to quilt the little adventurers quilt.
This is my favorite part-trimming the extra fabric and batting.


It starts out looking so messy and is transformed into a neat, almost completed quilt.


After trying a wavy line style (and then picking that out) I decided on straight lines.


I'm thinking of adding hand quilting to the four adventurers. I've never done that before but I think it will look better than anything I can do with machine quilting. Wonder what thread would be best?

Wishing all a happy Christmas or whatever holiday you celebrate at mid-winter.

Saturday, December 17, 2016

The Pink Hat Adventure or time for a crochet refresher

I finished two pink caps for baby Ava. "Does she need two caps?" you may ask. Well, no, but the first one was tied off when I thought, maybe that half double crochet was wrong. I checked an online 'how to crochet' site and found that I had done the whole hat in double crochet, not half double crochet.


The one on the left is done according to the directions with half double crochet.
The cap on the right has double crochet. Whoopsie. Sort of changed the shape.


Here they are again. Not so flat as before.


One last photo with the ribbons and bows. The one on the right looks like it would fit a fairy creature with pointy hair. (I put the rolled yarn inside to make them stand up.


I guess baby David's cap is wrong, too. There is plenty of yarn left, so I will probably make another one for him.

Lesson learned: Never assume you know how to do a stitch.

Saturday, December 10, 2016

Hat and Cap Finished

Pink corduroy hat with pink rose lining was a tricky finish. I don't know if the bias stretched or the pattern was printed wrong but I had a time sewing the circular top to the side. The brim was much easier to attach. I put white flannel between the outside and the lining. I hope it keeps Miss Little Bit warm.


Variegated blue cotton crocheted cap is for Master David. It is an easy pattern I adapted from an online pattern for a baby girl's cap. Next I will make a pink and cream version for Miss Little Bit.
Once I completed the curved section is was super easy. This may become a regular baby gift in the future.


One last week of work before taking a break for Christmas. Mr. M is retiring in 3 days! Wonder what that's going to be like?


Saturday, December 3, 2016

Christmas Stockings

My plans for quilting were side tracked with family and travel. I looked at my list of want-tos and decided making Christmas Stockings for our newest grands was the priority.
Here are my original designs.


Ava's has lace and cute little red-nosed deer. I cut out the letters by hand-something I learned as an Elementary Ed undergrad.


I fused the letters and used a blanket stitch with white thread around the edges. The green toe fabric has gold thread applique' in a different stitch. Both stitches are standard on my sewing machine.


For David's letters I sewed gold thread around the outside for a raw edge look. The cuff has gold hearts decorating the band. Another standard stitch on my machine.


I know there are fancier stitches on new sewing machines but I love my 35 year old Pfaff. It has been very reliable and with the even feed feature I can machine quilt easily. 

Hope to get to the adventurers quilt this weekend. See you next week end.

Saturday, November 26, 2016

Finished sand and water quilt top

In my last post I was trying out different layouts for my little adventurers quilt top. I wanted more 'sand' or blank spaces, so I came up with this arrangement. I now have 3 leftover blocks that I think  will become pillows.


I used up the green, blue, and yellow batiks to add some length. I'm thinking the yellow at the top is sunlight, the blue and green at the sides and bottom are water.


I placed one of the map blocks on point in the middle as a representative compass.
Two of the adventurers are above the 'compass' and two are below.
Now I have to finish the backing piece and pin baste it. I hope to quilt and bind it by next week.


I had to include this photo of little bit on her touchy-feely quilt I made before she was a twinkle in her dad's eye.


We had an interesting Thanksgiving break. I had hoped to get lots of sewing time but that was not to be. My 91 year old mom fell and broke her arm and we spent all Wednesday morning in various doctor's offices. 
Today I have cleared my schedule and hope to devote it to sewing. We'll see.
Hope you had a Happy Thanksgiving.

Friday, October 21, 2016

Trying out finished blocks

It was a beautiful afternoon. The temperature finally feels like fall.
I thought I would try different configurations of the blocks I finished.

But it was too windy to use the patio as you can see below.


So I moved inside and this is my first try. I'm not sure if this is what I had in mind.
A photo always helps me see the problems.


Well, I'll keep on trying.

Saturday, October 8, 2016

Found Map Fabric

In the continuing saga of buying fabric that fits my idea for a quilt, I lucked up on some map fabric.

I dropped by one of my local fabric shops. It was almost closing time on Friday. I asked if they had any map printed fabric but was ready for a negative reply.
Surprise! The shop owner said she had bought some map fabric for her personal use and happened to have a little left on the bolt. She went to the back room and came out with the fabric in the photo. It was exactly what I wanted.
Yea! And I have Monday off, so I hope to cut out everything and get started on my adventurers quilt.

Saturday, October 1, 2016

Decisions, Decisions

What to do? My original idea was to frame each adventurous boy with a heart shaped frame. But the squares will be so big (about 20 inches). I looked at the suggestions from the fabric line and kind of liked their idea. They framed each one with several small strips of color. 


I bought six different fabrics to use-muted tones-for the background. 


I want the 'boys' to be sort of floating on a neutral background.


I'm looking for a beachy feel.


I would love to find one more fabric with a map print like an old treasure map.


Here is David. He is one of the future adventurers.


This is Liam with Grumps. Last Saturday we were adventurers on Ship Island.

Don't have time to sew today. Baby Ava is coming to town and I must get some snuggles.

Sunday, September 25, 2016

Oh the Joy of New Fabric!

Yesterday was my birthday. One of those big numbers.
Mr. M and I went to the coast to celebrate with family. On the way we stopped at the Fabric Dock.
I had fun choosing some new fabric. Look what I got....


Some of the fabric above will be used in a quilt for baby David.


On my to-do list is to make some sample squares with these.


More Little Red and coordinates.

This panel of little boy adventurers seems perfect for a quilt to thank our week end hosts.


They have 4 grandsons. (We share two of them.)


And the family loves travel adventures.


I will share my ideas for these when I get MORE fabric to frame them.
Now to get sewing.

Saturday, September 3, 2016

Placemat to Zipper Pouch

 I bought two colorful placemats on sale with the idea of turning them into zipper pouches. It's been some months (years) since the purchase but finally I made time for them. Many photos follow...


Materials needed are placemat, zipper, scrap fabric.

 Use the scrap fabric to make end covers for the zipper. Cut the zipper to the correct size and sew folded 2 inch square on each end.


Sew the zipper on the short end of the placemat. The other side is a little trickier but doable.


Zipper secured. Turn placemat inside out and sew side seams.


You can stop here or if you want the bag to have a flat bottom, there is one more step.


Make straight seam 2 inches from the point on both sides.


Turn the bag right side out.


And here you have a finished bag in less than 30 minutes!


I'm going to make another bag with a few minor changes.
Then I will have to decide to keep or share.
What are you sewing?