Saturday, September 2, 2023

Birthday Sewing

Miss Ava's birthday is next week.
She doesn't like Barbie dolls but she is playing with a Bitty Baby these days. 


I made an apron, jumper, and diaper out of scraps of her dresses.


Trying on the doll apron. Ava will have one in a similar fabric.


I'm glad I made the doll apron first.
The directions were a little confusing but I worked through them for this finish.
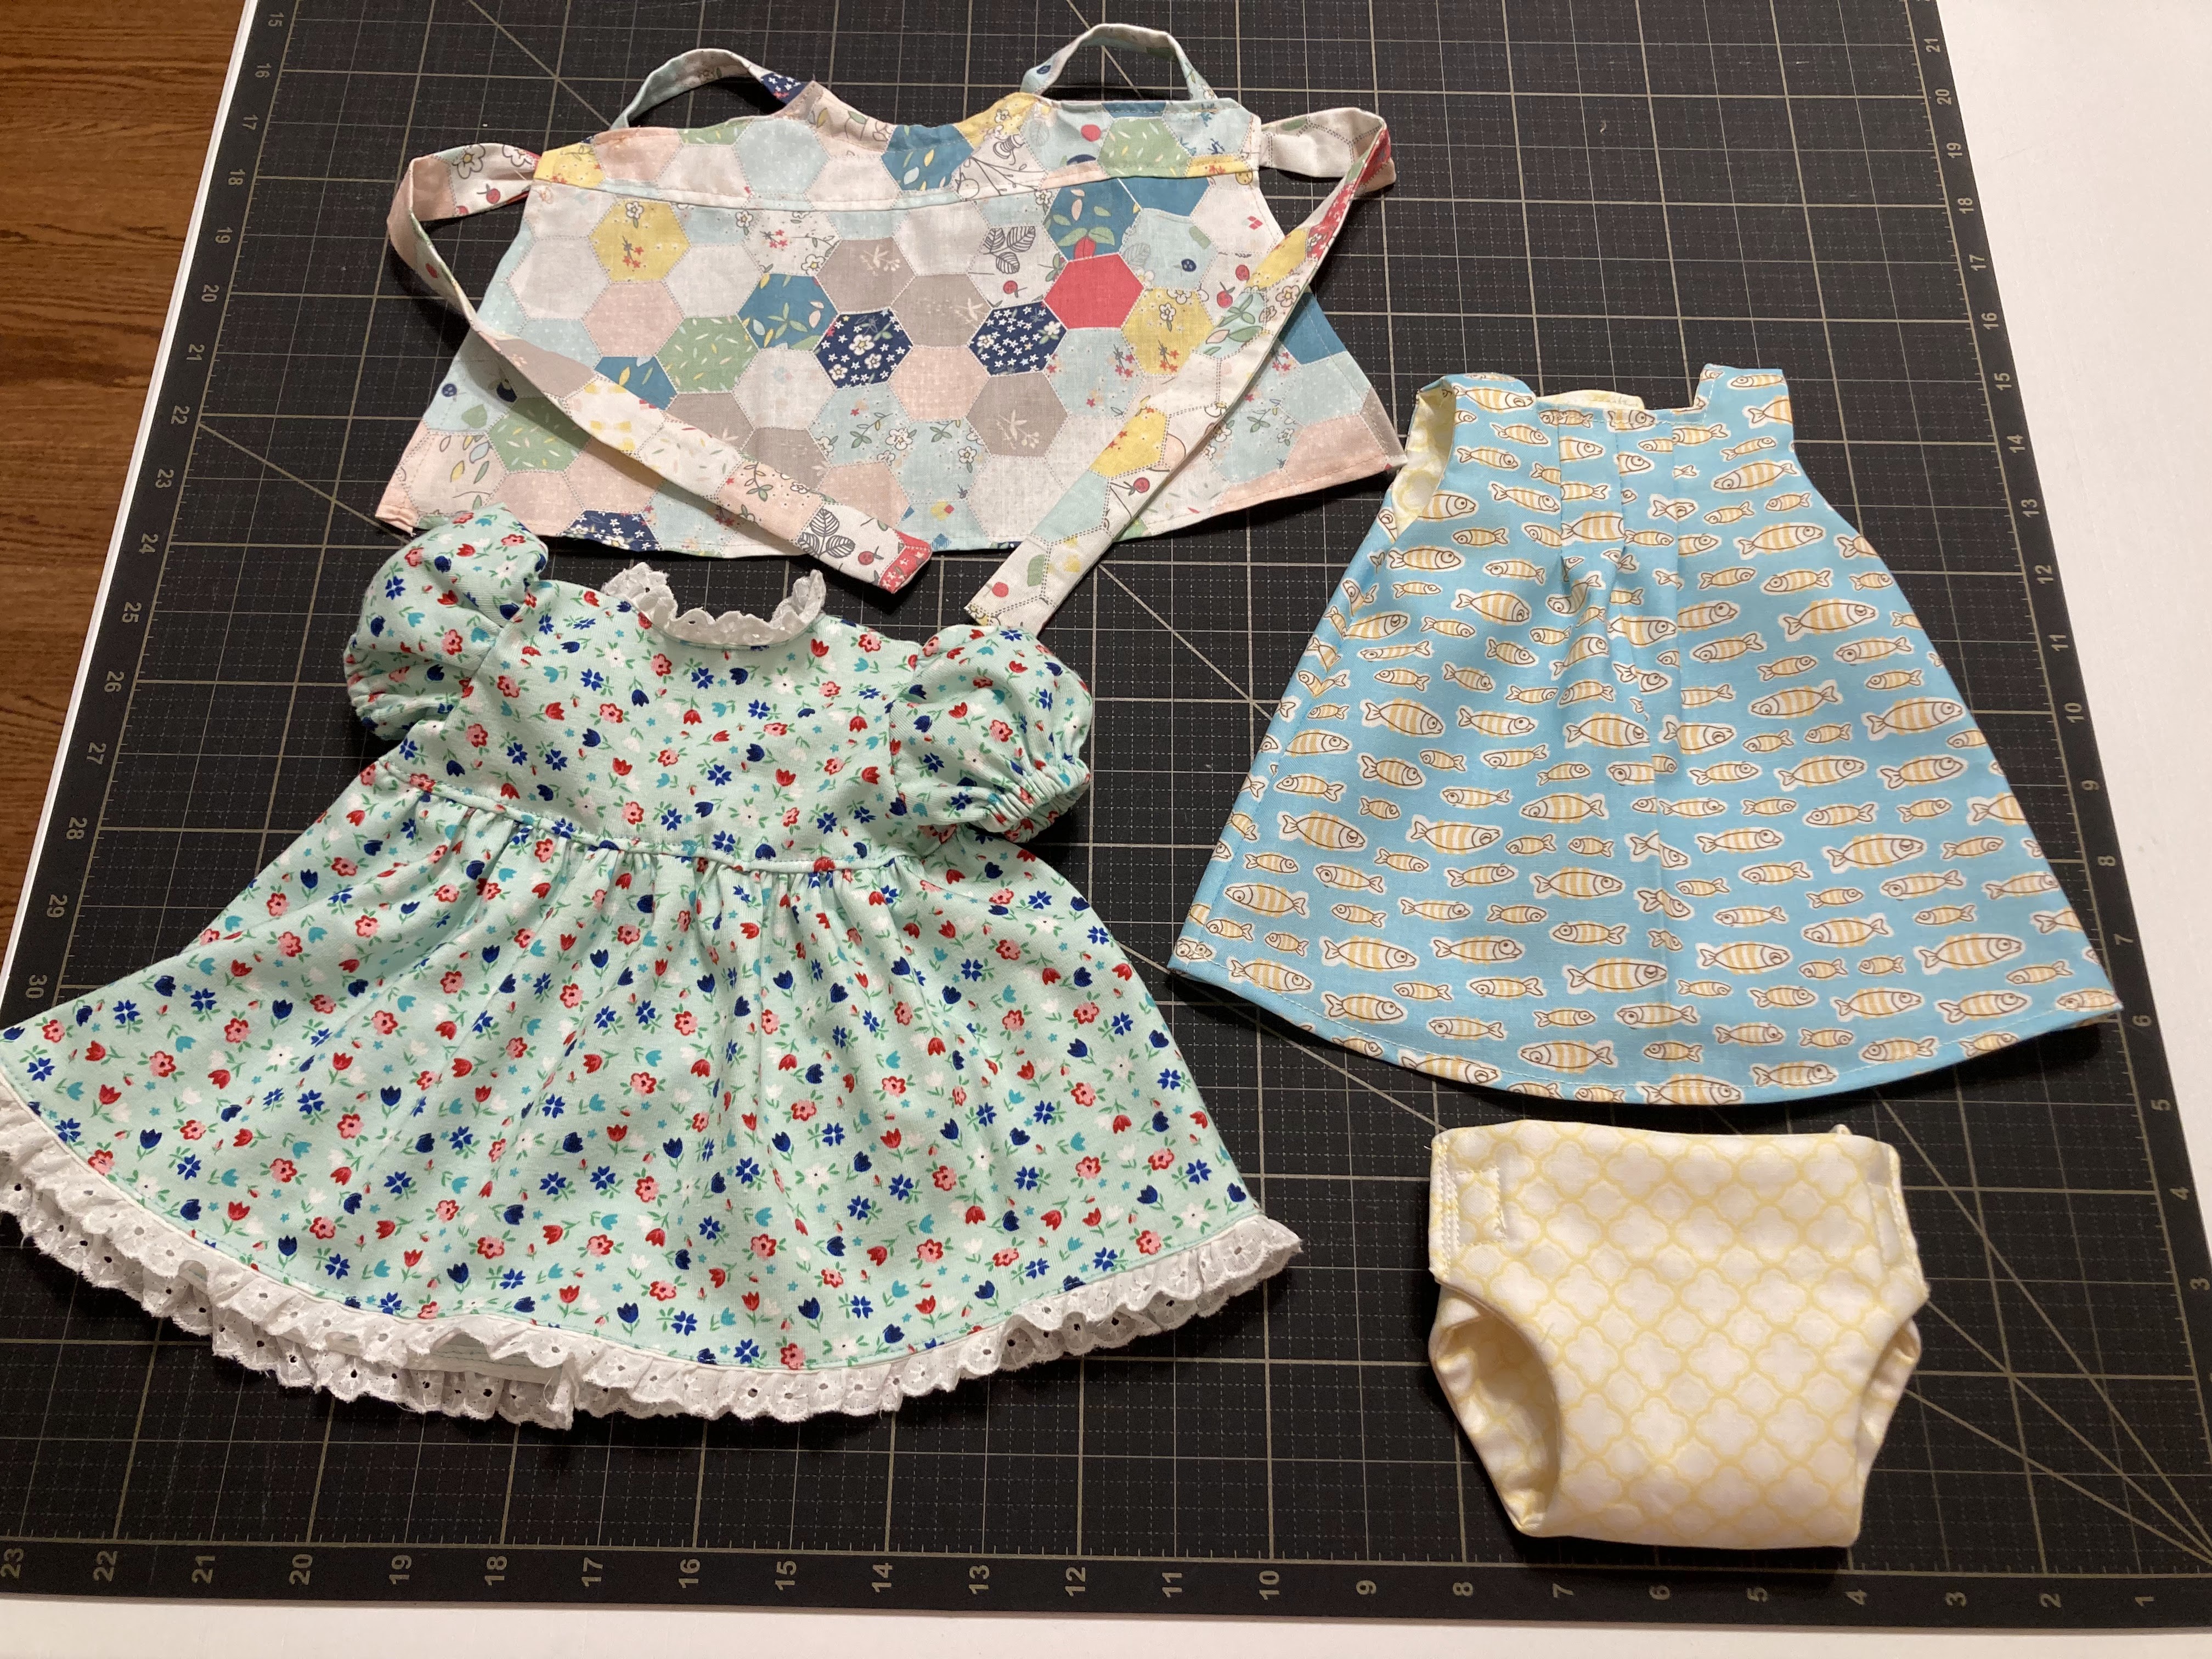

Baby doll outfits


After looking at the clothes, I thought a baby might need a flannel blanket.
The pink and green dot flannel was the lining of a little coat I made for Ava.

The final Gran-made present is a laminated apron for Ava.


I wanted to make a waterproof, paint proof apron.
So, these photos are to help me remember how to do this.

I cut out the pattern pieces from quilting cotton.


I decided to use Pellon 102 vinyl fuse with a matte finish.
I traced around the skirt and bodice pieces on the flat paper side of the vinyl.


I followed the directions and smoothed the fabric onto the vinyl by hand.
Then I ironed on a medium setting.
My iron was almost too hot and I did not leave it as long as directed 
because the vinyl seemed to be melting.


The pattern was the Sunny Day Smock.
I did not laminate the lining or the shoulder and waist ties.


After I understood the apron directions, it was easy to put together.
The vinyl was not hard to sew on and went through the feed dogs like regular fabric.
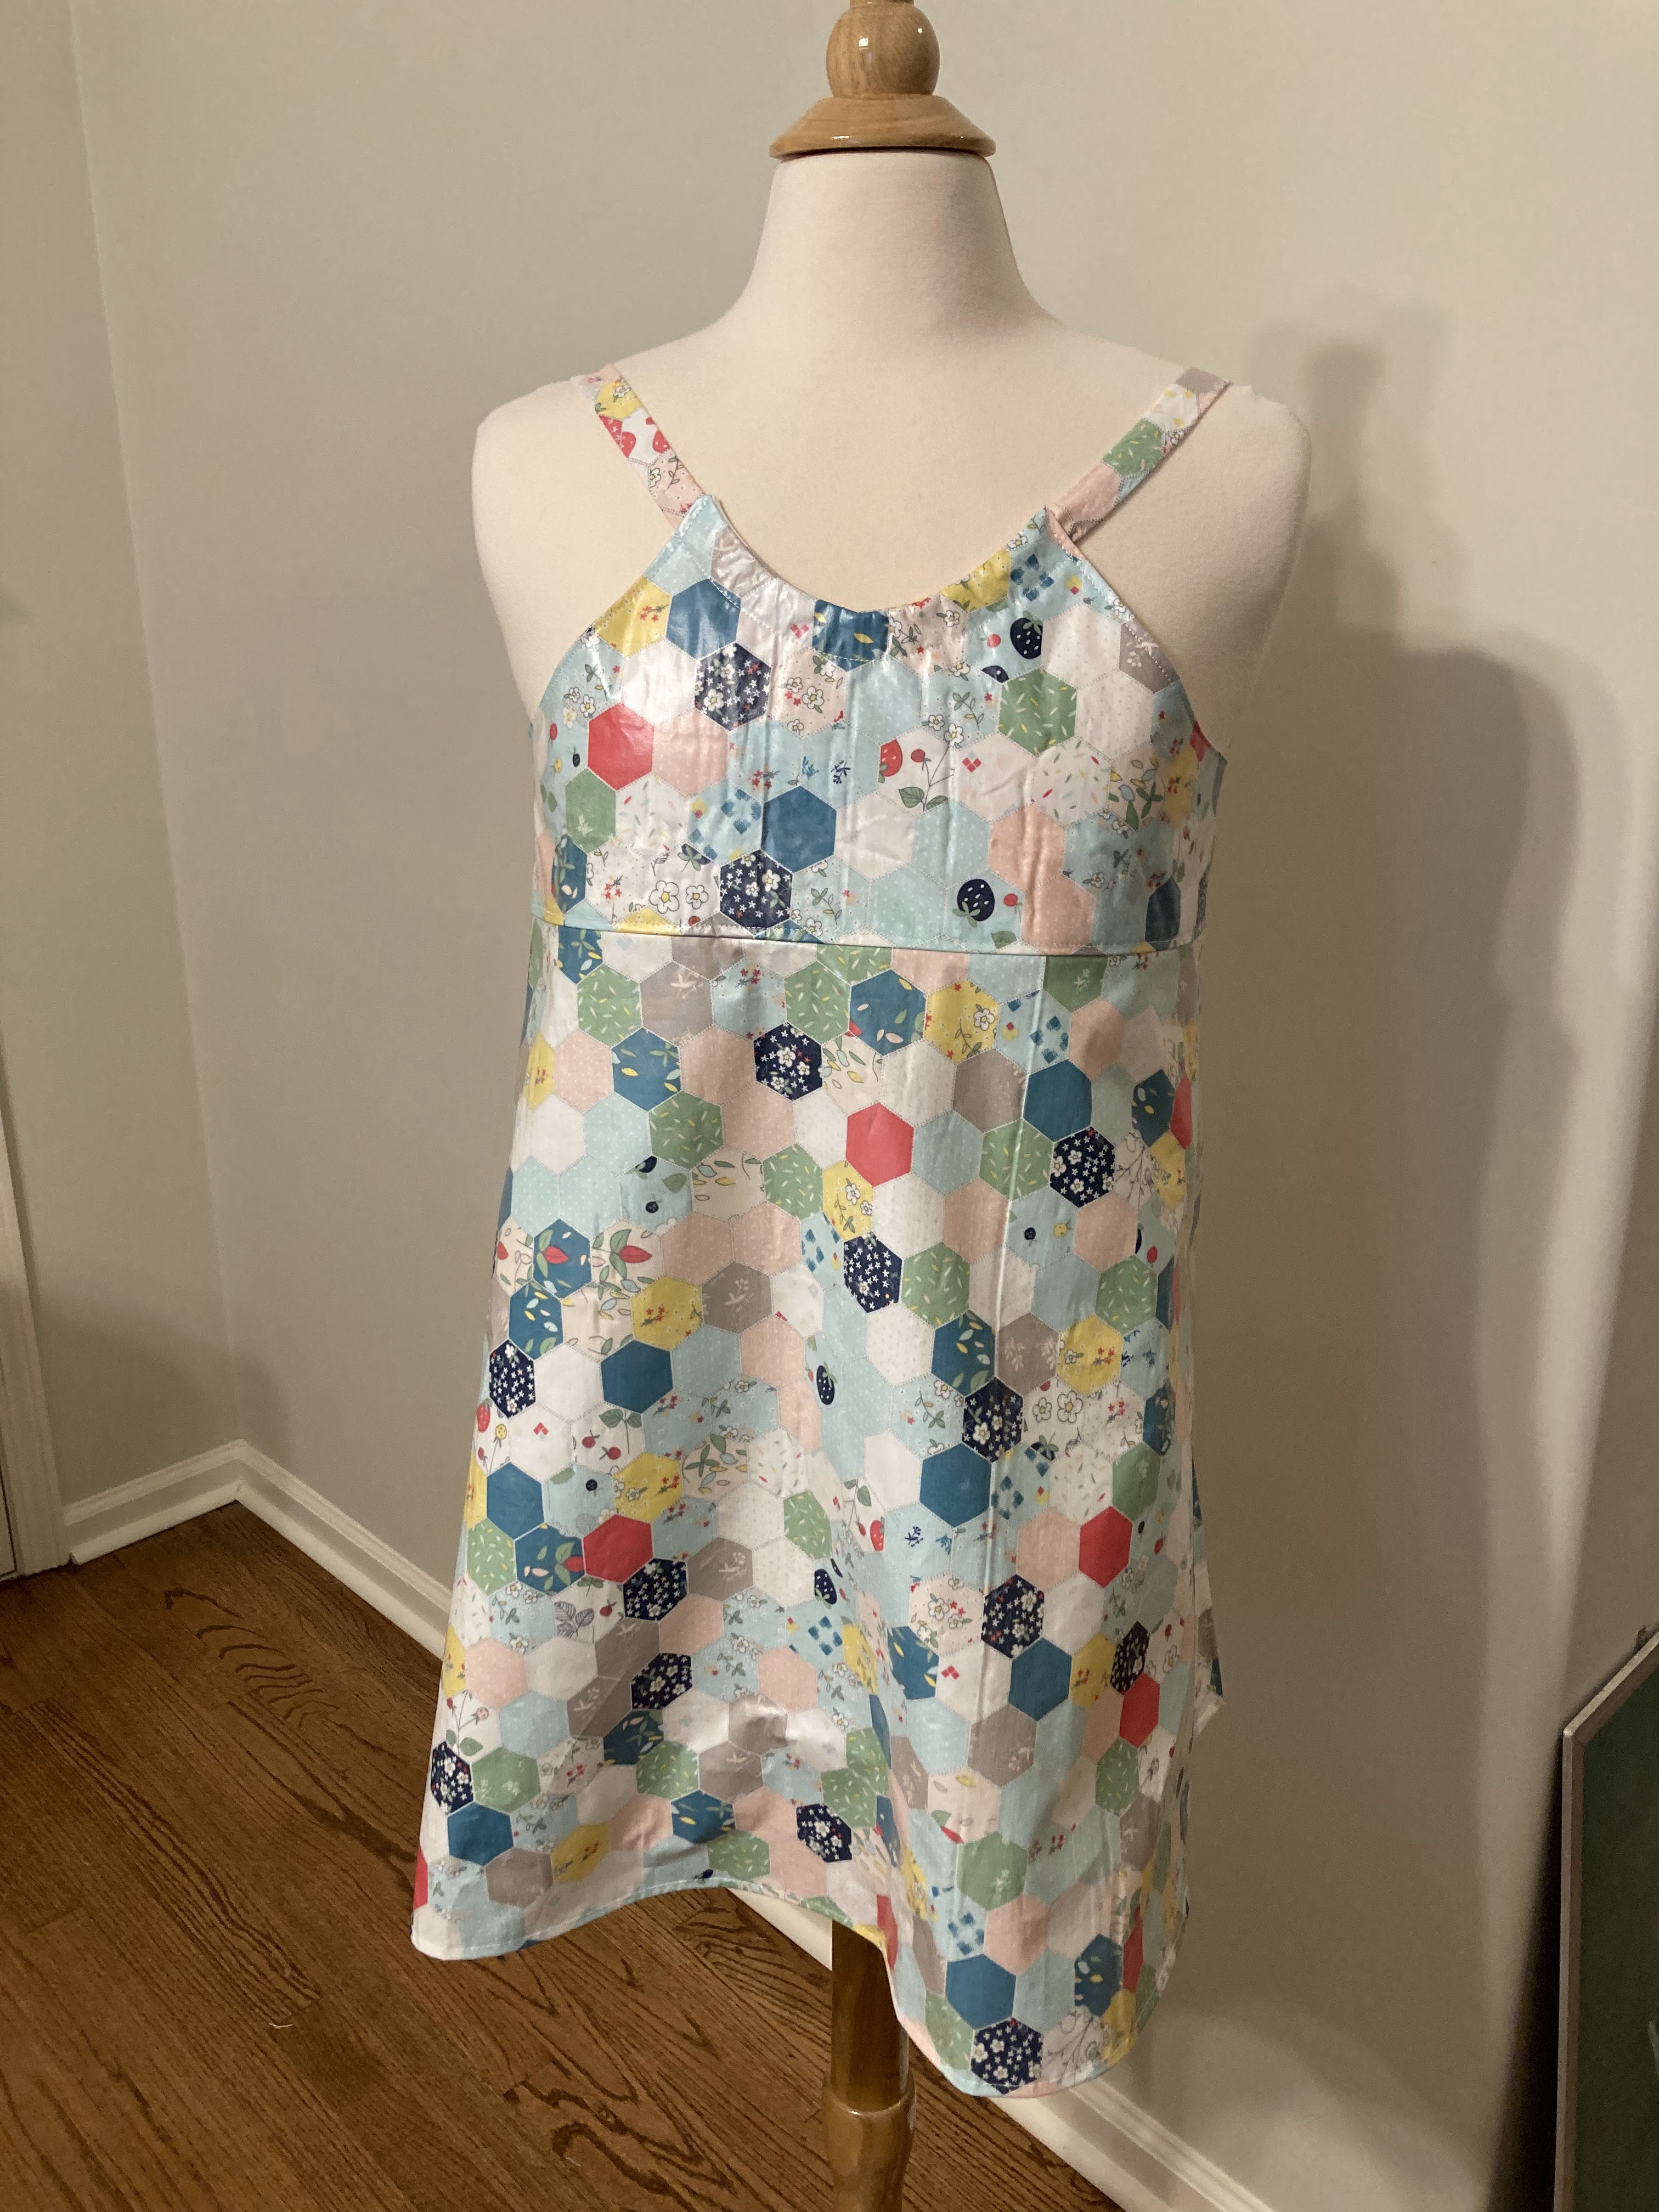

Ava should be able to use this apron when she paints for several years to come.


Gran-made birthday presents are ready for the party!

Happy sewing.


Sunday, August 27, 2023

MQA Bingo Fun

Are you a member of a quilt guild?

I'm a member of four groups - Jackson Quilters, Mississippi Quilt Association, 
Uncommon Threads, and Memphis Area Modern.

I'm too far away to attend monthly meetings of the first one 
but I enjoy reading the newsletter and keeping up with members on Facebook


Uncommon Threads is trying a new block of the month idea.
It is more 'color' of the month.
I chose the half rectangle block and watched a Missouri Star video for inspiration.


I had fun cutting up scraps for these blocks.


I soon ran out of neutrals so I bought half yards of these.


Below - trying out first and last columns.
The finished quilt will look more modern than traditional, 
so I may donate it to a Memphis Area Modern Quilt Guild charity.


Taking photos of possible layouts helps me see the colors better.


I took some time to put scraps into color piles and then into shoe box size bins by color.


For the last two weeks Mississippi Quilt Association has been playing quilt bingo.


It was lots of fun. 
I tried every space and got a blackout!


Half rectangles are fun.

Happy sewing.


Friday, August 18, 2023

Memphis Mini Quilt Finished

Lots of photos in this post.
I finished the 3rd Memphis History Mini Quilt yesterday.
The photo below was part of the inspiration for this mini.
Memphis Botanic Gardens is a family favorite. 
One well-known feature is this bridge.


My plan was to include the bridge, some flower photos from my mom's stash, 
and an unfinished row-by-row block I started in 2015.


I made a foundation of blue and green scraps and started playing with fabrics to layer on top.
Above the fish and water are in place. The flower photos are applied.


Which red and grey for the bridge?
Which greens for the trees?


First try with the bridge and trees.
That medium green doesn't look right.


Medium green turned a different way.
Trying tree trunk fabrics.
A pebble path and light yellow behind the brighter trees.


Which fabric for the tree trunks?


Tree trunks?


Trying the butterflies and dragonflies.


Final layout with trimmed insects.
If I were doing this again I would trim the individual day lilies, too.


Backing, batting, and top -ready to quilt.


Vertical quilting about a half inch apart.
I started in the center and continued until the right side was quilted.
Then flipped the mini and did the other side.


Close up of quilting.


The back of the finished mini.
I quilted horizontally after the vertical quilting was finished.


I used a variegated blue in the bobbin and variegated green for the top. 


Mini clips were handy to keep the facing, corners, and hanging sleeve in place.


After sewing and trimming the facing and corners, these tools were helpful for pushing out the corners.
The mini clips were used again to keep the facings in place while I hand stitched everything down.

Now Memphis #3 can join the other two mini quilts I made from recycled row-by-row blocks.


Memphis # 1 & #2 above.
Memphis #3 below.


It is truly finished when the label is written.


Looking forward to seeing all the mini quilts at Tuesday's Uncommon Threads Quilt Guild.
Happy sewing.


Using up stash

Our darling daughter asked for some cloth napkins while she was visiting with her family earlier this month. The set of china my mom left for her and her wedding china were finally going to NYC. The plan is to use real china and cloth napkins when they get back in their school year routine.


I made 4 napkins from this paisley fabric above. 
I turned under a quarter inch hem and stitched around.
It took 5 minutes to make one napkin.


I used the large tweezers to help turn the corners.


Another set of 4 made from a tan fabric with tiny rose buds.


Two sets of napkins = two yards of fabric gone from my stash.


A local quilt guild had a summer shop hop.
I bought this pink and gray fabric from the fabric designer's shop.


Don't know what I will make with this fabric but I love it.

Next up - finish my 3rd Memphis mini quilt.
Happy Sewing.


Saturday, August 5, 2023

Gran and David's Costume Shop

David is my costume loving, 7 year old, grandson.
Last time he was here we made a hooded cape.
This year we designed our own costume.


Above are some of our designs.
David wanted a sleeveless shift with a cape-like back.
He chose some fabric from the stash closet.


I used a yard of fabric for the under garment and a yard for the cape.
I measured his chest and added some extra width for ease.
The back seam is sort of flat fell.
The casing has 5/8 inch elastic.


I gathered the cape fabric by sewing it on tan elastic stretched as it was sewn together.
The straps are sewn at the bottom of the casing and at the top for extra stability.


The dress form was too big for the costume but this shows the length of the cape part.
Two yards of stash fabric used. Yea!


A quiet moment after crafts with Gran yesterday.
Cartoon classic Tom & Jerry held their interest.

Next up a little baking with Gran.

Happy Sewing!


Sunday, July 30, 2023

Very little progress


I'm slowly working on this felt play set.
I watched the videos but I'm having trouble with the double sided interfacing.


I have almost finished one shirt. Two pairs of shorts are finished.
I am going to take a break from this while NYC grandsons are here.


I have prepared gingerbread houses for Gran craft time while the boys are here.


I picked up this cross stitch kit from the pass along table at quilt guild.
I love the pattern but 18 point cloth is teeny.
Don't look too closely. It was hard to see where to stitch as I watched TV.


See Kate Sew offered the free pattern for the gingerbread houses.
Then she shared a pattern for gingerbread people.


Now we can make houses and people.
I'm going to read the Jan Brett book, Gingerbread Baby, before we start crafting.


I saw this at my local quilt shop's Grand Re-opening party.
This chart will be so handy when deciding which sewing machine needle to use.


Mystery flower blooming in our front flowerbed.


Can't wait to see the boys!
Happy sewing.